

Are you beginning your journey as an amateur photographer? A DSLR wedding photo session can turn out amazing or terrible depending on certain things. Let’s assume you understand the exposure triangle and aim for more practical tips. From flashes to lenses, here are some tips.
Spend Time on the Composition
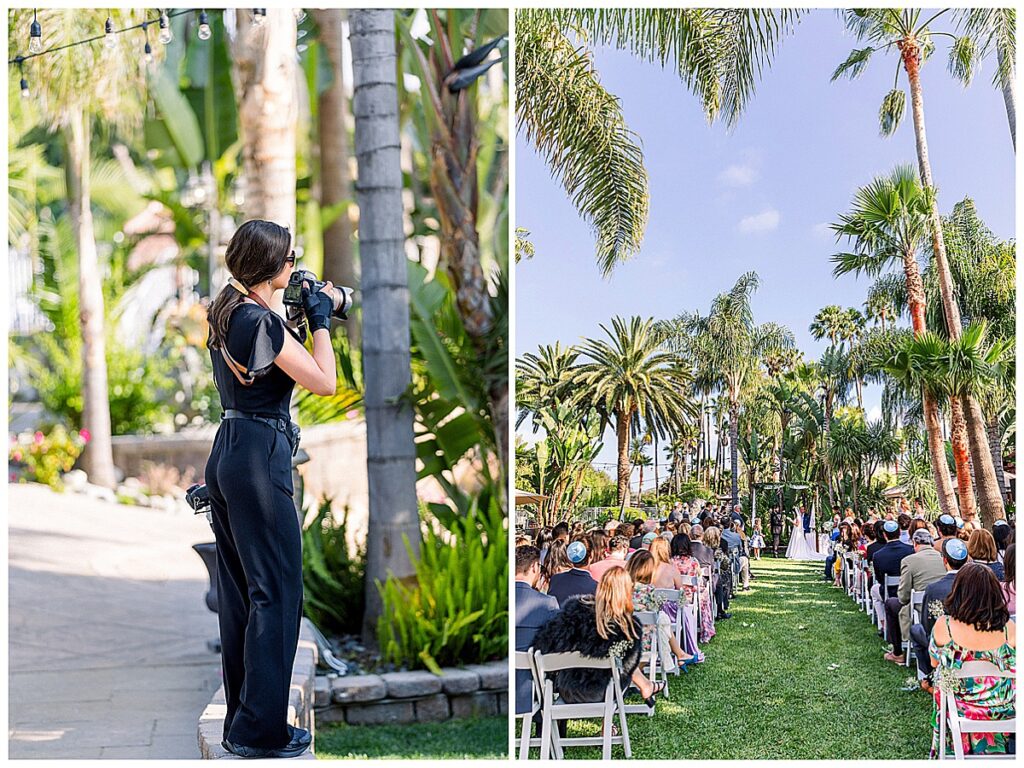
Composition is everything when looking to capture the perfect shot. Think about the lighting, angles, and backgrounds. Everything needs to be pristine, or your clients, or your wife/husband, won’t be happy. From wedding gown care coming up to the big day to a staging area for taking photos, there needs to be an extra level of detail to ensure your wedding images truly are something to treasure. A higher level of composition also means images will print out better.
Use External Flashes
Lots of basic DSLR cameras come with an internal flash. These are useful for specific scenarios but are a last resort. They aren’t designed to fill in light properly, only to help out when it is dark. Therefore, you don’t get the quality you need. An external flash is much better at handling the light and provides better contrast and light fill. Experts will also use multiple flashes. There are some tricks, too. For example, point the flash upwards or sideways to avoid getting “Pap shots”!
DSLR Wedding Photo Aperture
Unless you have never held a DSLR before, you will by now have come across the exposure triangle. This is the balance between ISO, aperture and shutter speed. All have their uses for different scenarios. An expert will take between 600 and 800 wedding photos in a typical session. Settings need to be adjusted as needed. The best setting for smooth shots with blurred backgrounds is the aperture. Shoot in Av mode with an aperture setting of 2.8 or less.
Change Lenses as Needed
An aperture of 2.8 or less is mentioned above. Be aware that not all lenses can shoot below 2.8. The aperture settings depend on the lens you need. It is always a good idea to take a few lenses with you and swap them out as needed. Kit lenses may get the job done. But prime lenses will yield better results. A telescopic lens is excellent for closeup portrait shots. Wide angle lenses will allow you to get great shots of the venue and staged shots of multiple people.
Always Shoot in RAW
If you haven’t already, change your image capture setting to RAW. RAW captures images uncompressed. This means all the available data is saved without losing anything as is the case with a JPEG. The main reason for shooting RAW is that you can edit images later with a great deal of control. You can load them into Lightroom for example, and tweak various settings such as contrast, tone and noise. You can find Lightroom tutorials on YouTube if you need them.
Summary
Making sure the image composition is perfect is a critical DSLR wedding photo tip. It also helps to understand the role of aperture in closeup images and portraits. For greater control, it is advised that you shoot your images in RAW and not a compressed format such as JPEG.


